Saturday, December 11, 2010

A Star Wars Birthday Party

My son is turning 6 and wanted a Star Wars Birthday Party.  I was a little scared because I had never seen or ever planned to see Star Wars or pretend to know anything about it.  Luckily, he told me this about 6 weeks ago so I had some time to do some research.  And I had my awesome right hand man (my hubby) who happens to be a Star Wars fan.

 
The Cake: (try to ignore the seams in the fondant)
Make a regular 9 x 13 cake.  Cut into 3 strips and lay end to end.  Frost the "light" part of the light saber and cover with Marshmallow Fondant.  Then frost the handle with gray frosting (vanilla frosting with a little black food coloring) and pipe black frosting for details. 
This was a team effort with my husband.  He is awesome!
They ate their cake along with their Yoda Soda.  Yoda Soda is this... green Kool Aid.  And if you can't find green Kool Aid like I couldn't last night at Walmart, buy the invisible Kool Aid and add green food coloring.  It was really cool (and simple) and the kids loved it.

 Party Favors:
Buy a pool noodle, cut in half and wrap the handle with duct tape and electrical tape.  It's that easy!
I also had bags for the kids with glow sticks, glow in the dark stars, and "asteroids" which were actually a Cosmic Brownie, a fun size Milky Way, and Fruit Snacks wrapped in aluminum foil that they had to hunt for.

 The Jedi Mission Training Check List:
It was nice to have this to let the kids see exactly how the party was going to go.  And on the other side we had a picture of Obi Wan (?) that they could color while we waited for the other guests to arrive.

When we were finished with our list, we did cake and ice cream and presents.  It went great!  However, it was harder for the kids to make their own light sabers than I had anticipated.  We basically just ended up making them for them.  If I were to do it over again, I would have made them beforehand.

After taking the Jedi Oath, they were awarded this diploma.

We took a picture of each child receiving their diploma. I'm going to print the pictures and send it to them with their thank you card. 
I was a little nervous about how this would all play out but it went very well.  The kids would have been perfectly happy if we had just given them the foam light sabers and just let them go for 2 hours.  They were totally into that part.

Tuesday, December 7, 2010

Christmas Stockings and Hanger


Not only are my Christmas Stockings finally finished.... but so is the stocking hanger!
I ended up changing the stocking with the big white ruffle. It looked too out of place. I am proud of my stockings but I am in love with my stocking hanger. I really love how it turned out. Mainly because it was so easy. Much easier than the stockings. I'm still trying to get used to the fact that once this baby is out, we're a family of 5. That's crazy!

Here's a close up.
Posted by Picasa

Wednesday, December 1, 2010

Countdown Blocks


Okay, I know that there's not 11 days until Christmas... thank goodness. But these sides had the cutest papers and looked best in the picture.

These were super easy to make. I bought a 4 x 4 and a 2 x 4 and had them cut into 4" blocks and the bottom is 8". Then just sand, paint, mod podge the paper on, print the vinyl off and stick it on there.

I was planning on making a bunch of these for gifts for Christmas gifts but I'm on bed rest right now and only managed to make one set. Which I probably shouldn't have done :)

If anyone is interested in making these, I have all of the supplies that you could buy from me. You would need your own paint and mod podge, though. But for the blocks, vinyl, and paper, I would sell this for $8. Let me know if you're interested!
Posted by Picasa

Sunday, November 28, 2010

Christmas Stocking 3/5


Boy, I sure am taking my sweet time finishing these! I also need to make my new stocking hanger. Hopefully sometime soon.  Especially since those are about the only Christmas things that I don't yet have up.  I love this time of year!
Posted by Picasa

Thursday, November 18, 2010

Happy Early Birthday & Christmas To Me!


Is it just me or can you hear angels singing, too?


Ok, so my birthday and Christmas aren't super close but they're here early a few weeks this year. I am so so so excited to have this. And now I can make all of the Christmas presents that I need to, so technically I had to have it early, right?

Once my new projects are done, I'm debating whether to post them or not if they are going to be Christmas presents. I won't say who they're for but then it still kind of ruins the surprise. We'll see.

The best part about this? I got this for almost half the regular price on Amazon!
Posted by Picasa

Saturday, November 13, 2010

Christmas Stockings 2/5


While I was blog hopping this morning, I came across a blog called The Bird's Papaya. She made this ADORABLE ruffled cowl scarf (which is my next project) and I decided that was the perfect idea for my next stocking. Off to work I went and this is what I came up with. I know the white kind of stands out a little bit but I think it's fun. It kind of reminds me of Santa's beard.

2 stockings down, 3 to go! The only problem is, I'm trying to make them match while making them all different. Any ideas are very welcome!
Posted by Picasa

Friday, November 12, 2010

Decorative Pillows

The Before:


The After:


I bought these white pillows a long time ago to go with my black and white duvet. But I've never loved them and always wanted to do something different with them. I found this fabric at Joann's and didn't immediately think of the pillows but when I did, I knew I had to do it. I also saw this flower ribbon at Joann's and fell in love. I knew exactly what I was going to do when I saw it. Now I just need a new duvet to match :)

My next set of Decorative Pillows that needed a touch, came from our guest bedroom.
The Before:

The After:
I made fabric flowers from scrap fabric like I did with the Christmas Stockings.  Instead of using buttons, I used a brad and poked it through the center.  It was so easy!  I used a safety pin to fasten these to the pillows so I can change them out whenever I want!

You can get the tutorial for the flowers from My Blonde Ambitions, she does a much better job explaining and takes much better pictures than I do.  There is one thing that I do differently, though.  Instead of hand sewing it, I throw it under the sewing machine.  It doesn't look as neat or nice but it's fast and very secure.  I'm not the best hand sewer.
Posted by Picasa

Wednesday, November 10, 2010

Christmas Stockings

The new baby won't be here by this Christmas (hopefully) but I wanted our family to have new matching stockings.  I wanted to do this last year and just never got to it.
This is one of five that I need to make.  Actually I wanted to make more just in case of future kids, then I would have matching ones, but now I'm not so sure.  It's not that it was hard, it's just that it was more time consuming than I expected and I'm a very impatient person :)

I want to make each one different but I'm not sure what I'm going to do on the others yet.  I was going to wait to post this until I had all of them done but it might take me a while and I wanted to post this just in case anyone wanted the idea for their own!  But I will post the others when they're finished.


I took 4 pieces of paper and taped them together.  I drew the pattern free handed (if you couldn't tell) and cut the pattern out.  I cut the decorative piece out and put all of the outside stuff on first.  Then I sewed that to a piece of felt that would make the front inside.  I cut out another piece of felt to make the back.

UPDATE:
After I posted this, I wasn't loving the button look on the pleats at the top.  It was too plain.  Then I remembered a tutorial from My Blonde Ambitions to make super easy flowers.  I hadn't ever made them before and now I love them! They are really easy and I just used scrap fabric that I had.


Tuesday, November 9, 2010

Holiday Wreaths

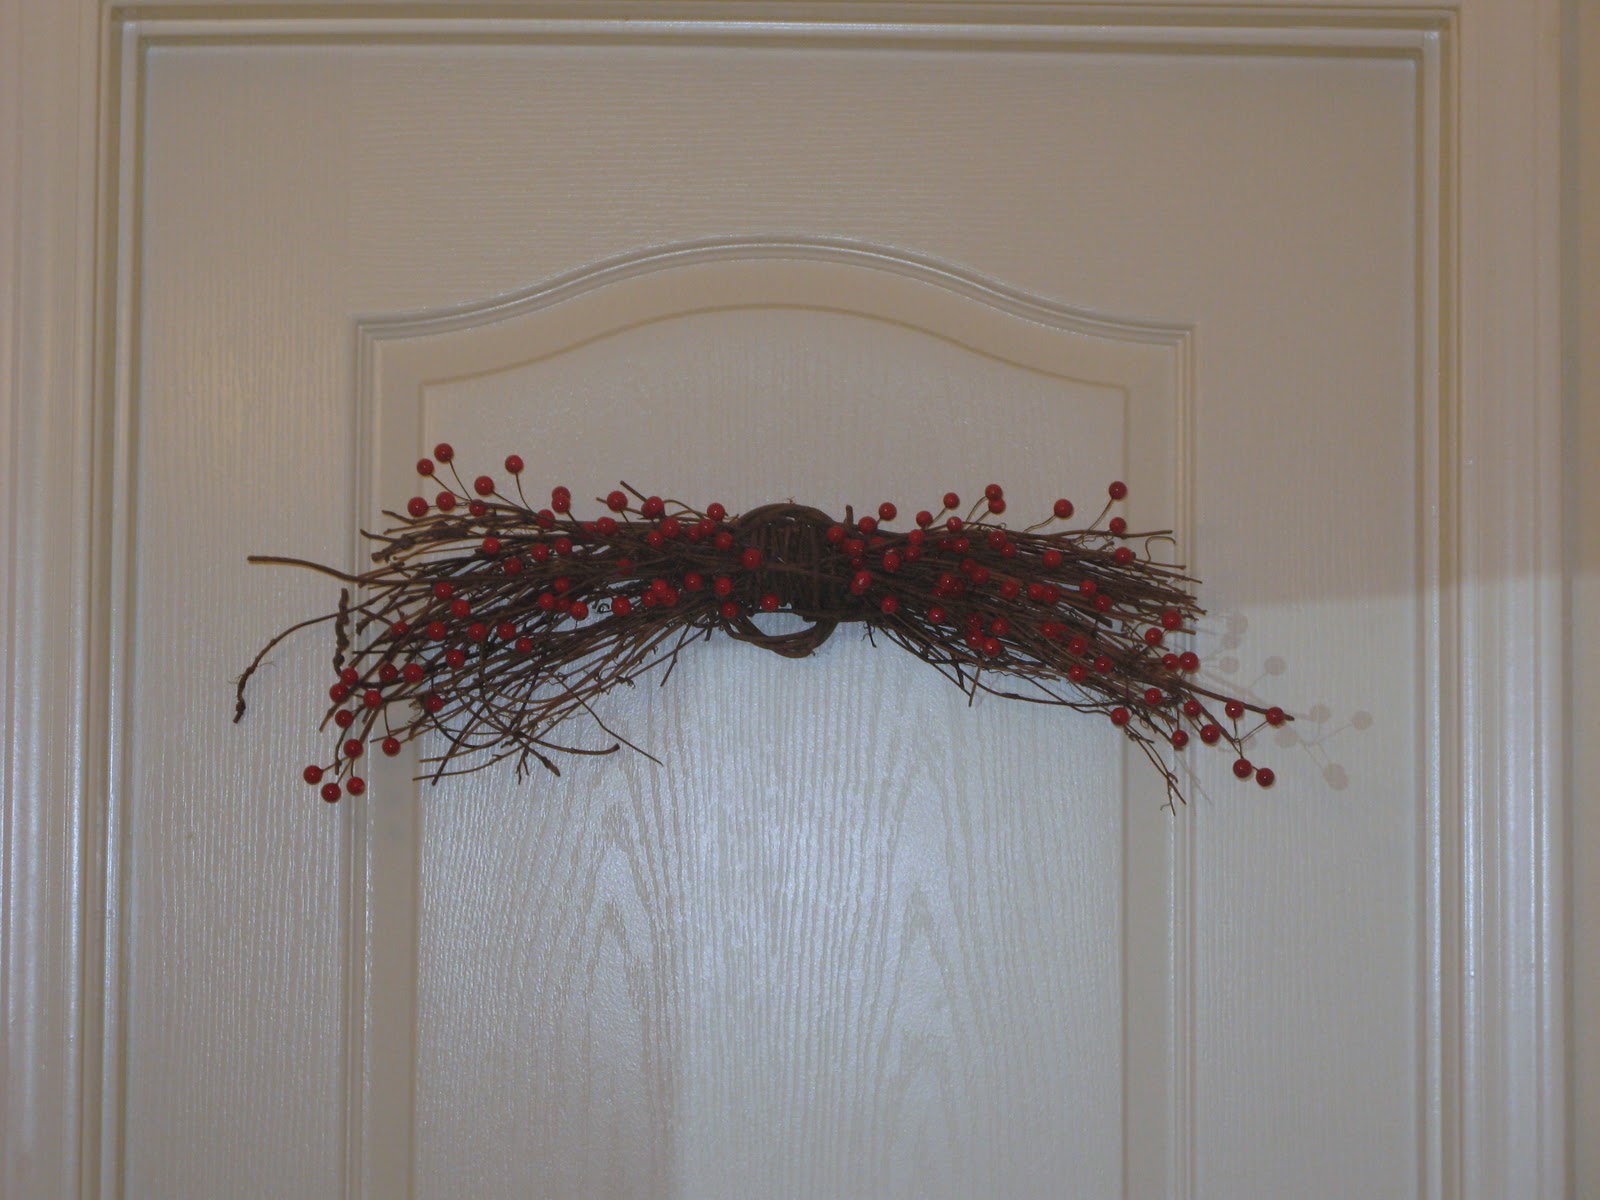
I haven't been super crafty lately.  In fact, I haven't been doing much lately at all.  I've been having some major contractions for the last couple of weeks that have been keeping me down.  I still have 10 weeks left so this isn't a good thing.  I did, however, manage to make these super simple wreaths for really really cheap.  Gotta love Hobby Lobby!

 Total Cost? $3.50!  The wreath and berries were all 50% off, the wreath costing $1.50 and the berries stems each costing $1.  It's very simple and it's hung on my bedroom door that just adds that fall touch that we're missing here in AZ.

I was lazy and used the same berries for this wreath.  Total cost? $10.25.  This wreath cost me only $3, the berry stems were $5, and the Christmas ornament was $2.25

Sunday, October 31, 2010

Pumpkin Pots

 Here are the boys decorating their pots.  My kids didn't quite get the idea.  
(Excuse the messy house in the background.)

The finished product!  From left to right: Steve's (my hubby), Mine, Carson's, and Landon's.
Even though the boys didn't paint jack-o-lantern faces, they sure had fun painting them.

We bought the pots at Home Depot for 87 cents a piece.  So this is a super cheap craft.  
I first spray painted them orange and let them dry.  Then we just used kid's washable paint to make the faces.
You can put sticks and leaves in the top to look like a stem but living in AZ, we don't have many trees, especially ones that have branches thick enough to fit into the hole in the top without falling through.